Starting your online store can feel difficult, but Shopify makes the process simple. With Shopify Online Store 2.0, you can set up, customize, and launch your e-commerce business even if you’re a beginner.
This complete step-by-step guide will help you set up your store the right way from creating your account to shipping your first order.
Table of Content
1. Create Your Shopify Account
2. Choose the Right Shopify Plan
3. Pick a Theme for Your Store
4. Customize Your Store Design
5. Design Your Homepage
6. Create Product Pages
7. Add Products
8. Use Metafields
9. Organize with Collections & Navigation
10. Set Up Legal Pages
11. Make Your Store Fast
12. Enable Payments.
13. Setup Taxes
14. Setup Shipping
Final Thoughts
1. Create Your Shopify Account
Go to Shopify and start your free trial (no credit card needed).
Choose a store name (don’t worry, you can change it later).
Your default store URL looks like yourstorename.myshopify.com. Buy a custom domain for a professional look:
Admin → Online Store → Domains → Buy new domain.
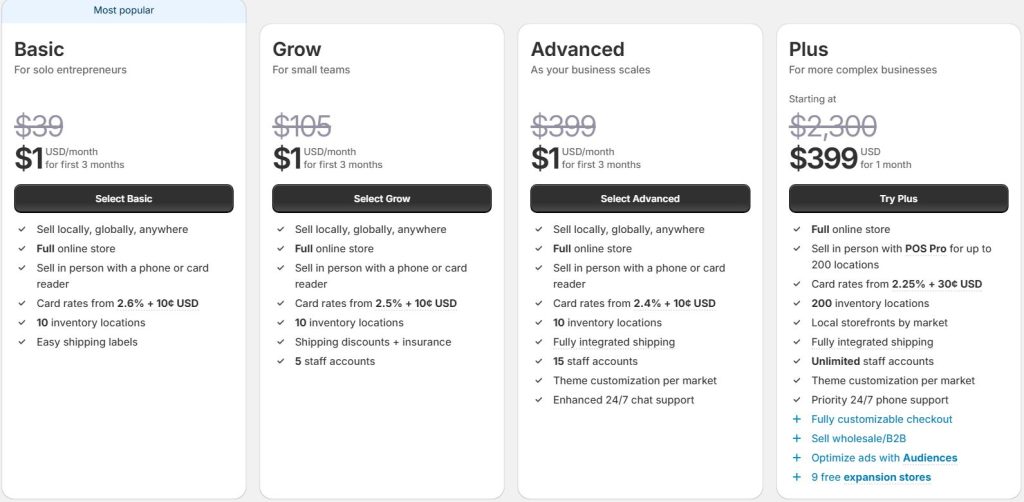
2. Choose the Right Shopify Plan
Basic Plan: Perfect for beginners.
Mid-tier Plan: More shipping discounts for growing stores.
Advanced Plan: Best for large businesses with teams and analytics needs.
Start with the Basic Plan until you grow.
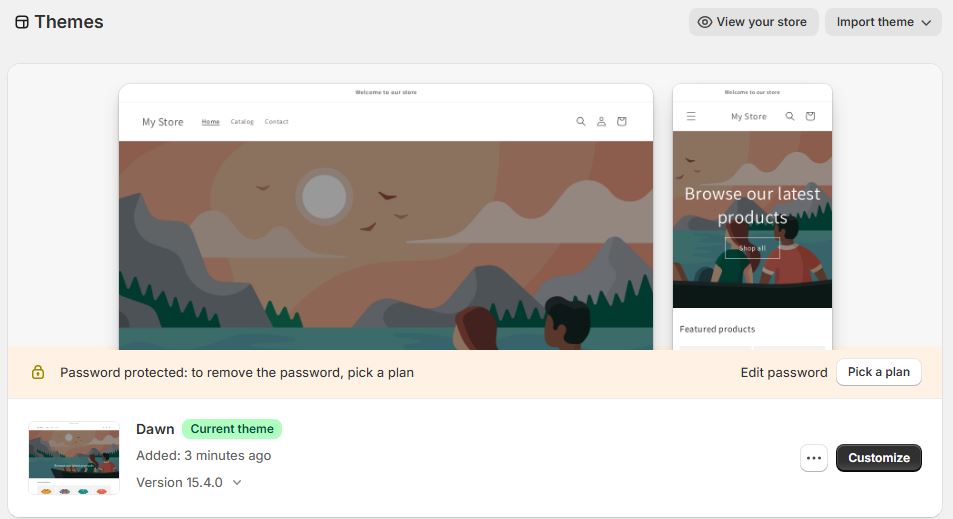
3. Pick a Theme for Your Store
Themes control your store’s look. Shopify has free and paid options.
Best beginner theme: Dawn (modern and flexible).
Other free themes: Crave, Craft, Sense, Taste, Studio.
Premium themes: Drop, Bullet, Be Yours.
You can always switch themes later.
4. Customize Your Store Design
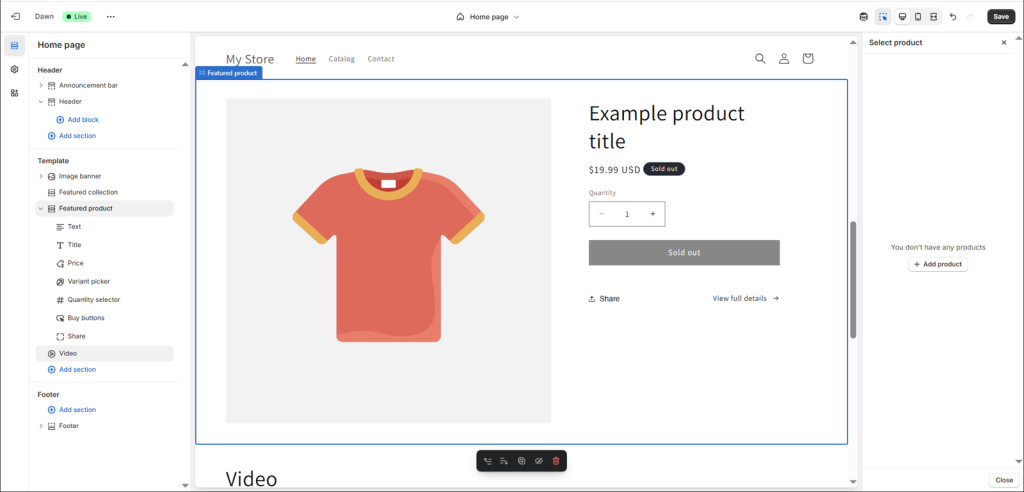
Go to Online Store → Customize to open the theme editor.
Shopify themes use templates, sections, and blocks. You can drag, drop, and edit without coding.
Don’t wait for perfection. Build the basics and launch quickly.
5. Design Your Homepage
Your homepage is your first impression.
Add a large banner with a headline, subhead, and clear Call to Action (CTA) like “Shop Now”. “Buy Now”, and “Add to Cart.”
Use real brand images or videos (avoid generic stock photos).
Add sections like featured collections, videos, or reviews.
6.Create Product Pages
Use custom templates for different product types.
Add images, close-ups, videos, and even 3D models.
Always write alt text for images (helps SEO and accessibility).
Product descriptions: keep them clear and short. Use bullet points or tabs, not long paragraphs.
Show customer reviews, FAQs, or banners like “15% Off Today.”
7. Add Products
Now add the products you want to sell:
Product Name: Clear, descriptive, and creative.
Description: Explain materials, features, and benefits. Keep it short and scannable. Use bullet points or tabs.
Images and Videos: Show the product from all angles, close-ups, and even lifestyle shots. Videos make your store more engaging.
Alt Text: Write alt text for images to improve accessibility and SEO.
Price & Cost Per Item: Enter both to track profit margins.
SKU & Inventory: Add a SKU (stock code) for organization and keep inventory accurate to avoid overselling.
You can show metafields on product pages using dynamic sources in the theme editor.
9. Organize with Collections & Navigation
Create collections (bags, summer sale, skincare).
Add them to navigation menus:
Main menu (Shop, About, Blog).
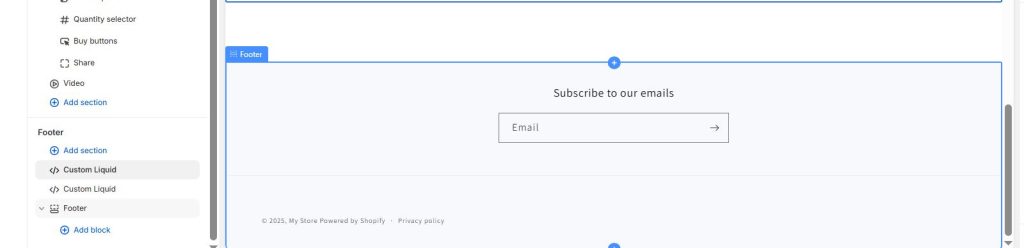
Footer menu (Returns, Privacy, Contact).
10. Set Up Legal Pages
Shopify has built-in templates for:
Return Policy → how customers return items.
Privacy Policy → how you use customer data.
Terms of Service → protects your store legally.
Shipping Policy → costs, regions, duties/customs.
Link these pages in the footer, checkout, and product pages.
11. Make Your Store Fast
A slow website loses sales.
Optimize images and videos (make files smaller).
Remove heavy apps/features you don’t need.
Check speed: Admin → Online Store → Themes → Online Store Speed → View Report.
12. Enable Payments
Go to Settings → Payments.
Shopify Payments is the easiest option.
You can also connect PayPal and other providers.
Use Test Mode to simulate payments before going live.
Add accelerated checkout options (Shop Pay, Apple Pay, Google Pay). These reduce checkout time and increase conversions.
Enable multi-currency so global customers see prices in their own currency.
13. Setup Taxes
You are responsible for collecting and sending sales taxes.
Shopify auto-calculates common taxes, but set your own regions.
You can choose whether prices show with or without tax.
Add your business locations, since they affect tax calculations.
14. Setup Shipping
Decide how you will handle shipping:
Free Shipping: Add cost to product price or offer free shipping on orders over a certain amount.
Flat Rate: One fixed cost for shipping (based on weight or order value).
Carrier Calculated: Shopify shows live carrier rates at checkout.
Use Shopify Shipping to get up to 86% discounts on shipping labels.
Final Thoughts
Setting up a Shopify store may feel overwhelming, but Online Store 2.0 makes it simple. Follow these steps in order:
Sign up and pick a plan.
Choose a theme and customize it.
Add products and organize them into collections.
Setup legal pages, shipping, payments, and taxes.
Test everything and launch.
You don’t need to be perfect on day one — what matters is launching and improving as you grow.
Join us as you begin your Shopify journey
We are e-commerce specialists and Shopify Partners. Get in touch with us if you need assistance with Shopify, need a whole website built, or have any other general questions.